top of page
artificial Intelligence
Autonomous ai vehicles in Unity 3d
-
Team Size: Individual
-
Role: Designer, Programmer, Artist
-
Tools: Unity, C#, Photoshop, Maya, Google Docs
-
Development Time: 3 weeks
Objective:
To create a beliveable autonomous car system which is able to navigate and avoid both dynamic and static obstacles to follow a designated path.
Quick look:
-
Built in Unity and C#.
-
Vehicles use Unity wheel colliders and physics rigidbodies to produce realistic vehicle movement.
-
A sensor array on the vehicle uses raycasts to determine obstacles in the cars path, which relays the information to the motor and wheels.
Implementation


Results:
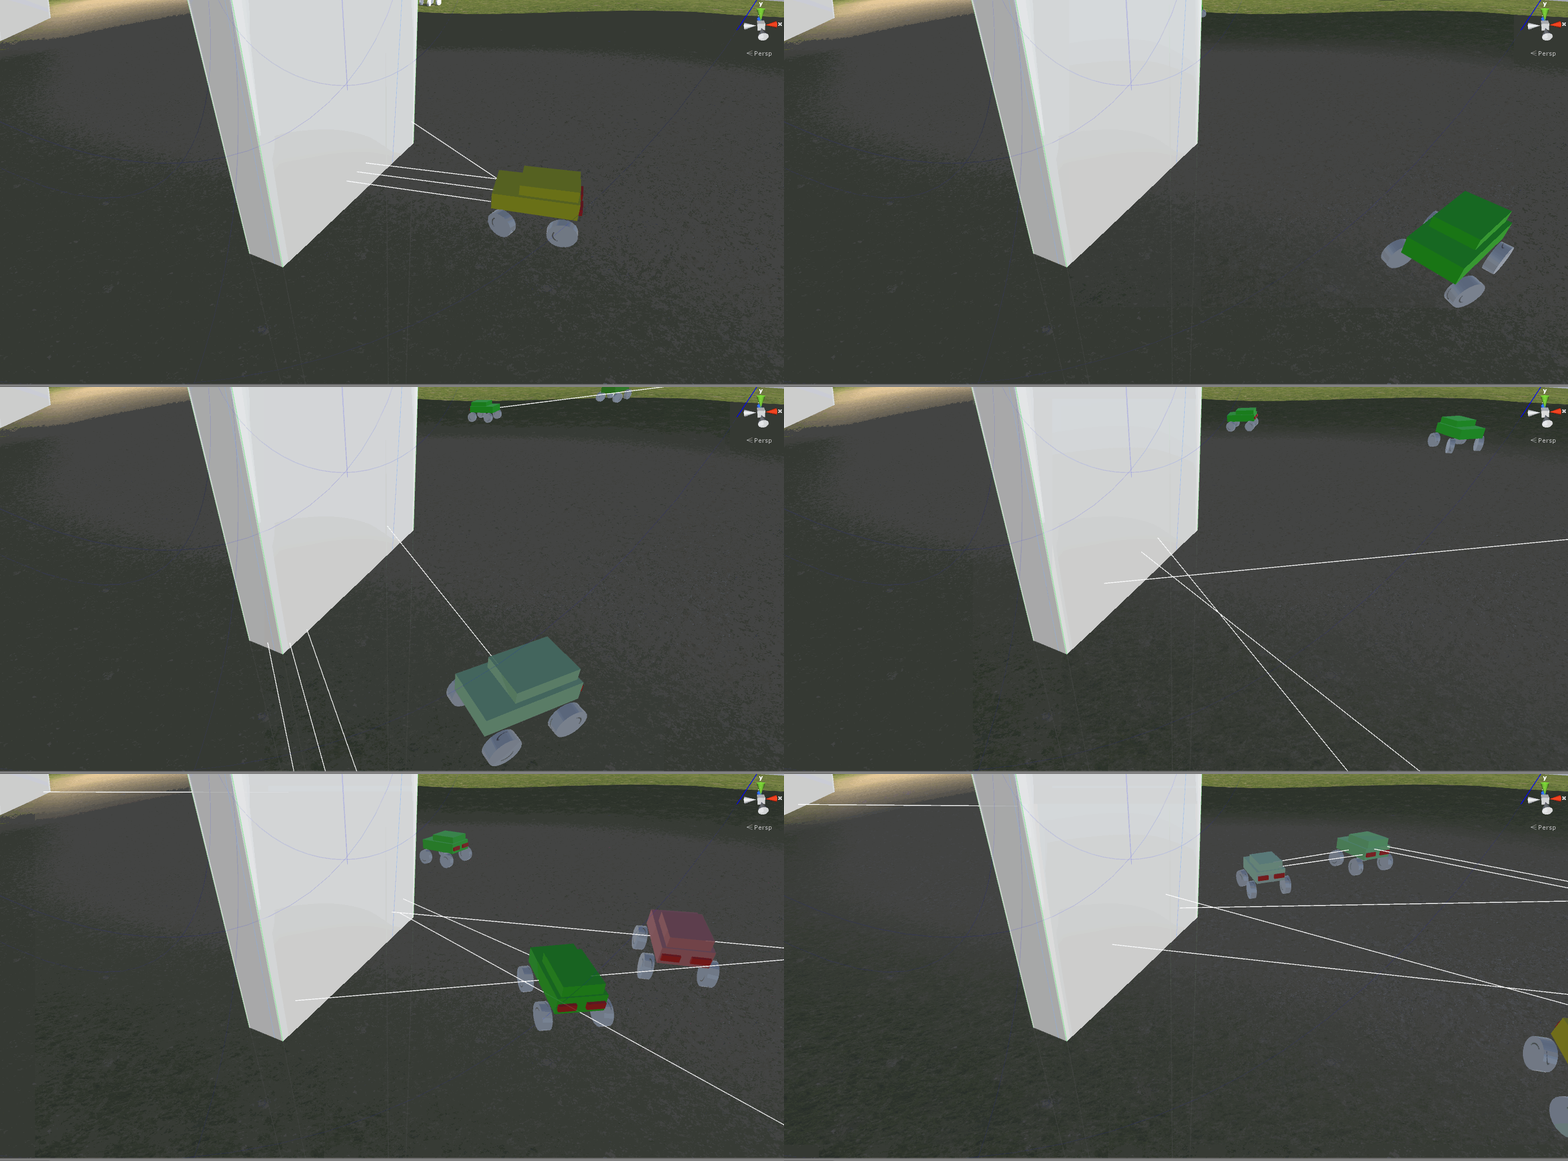
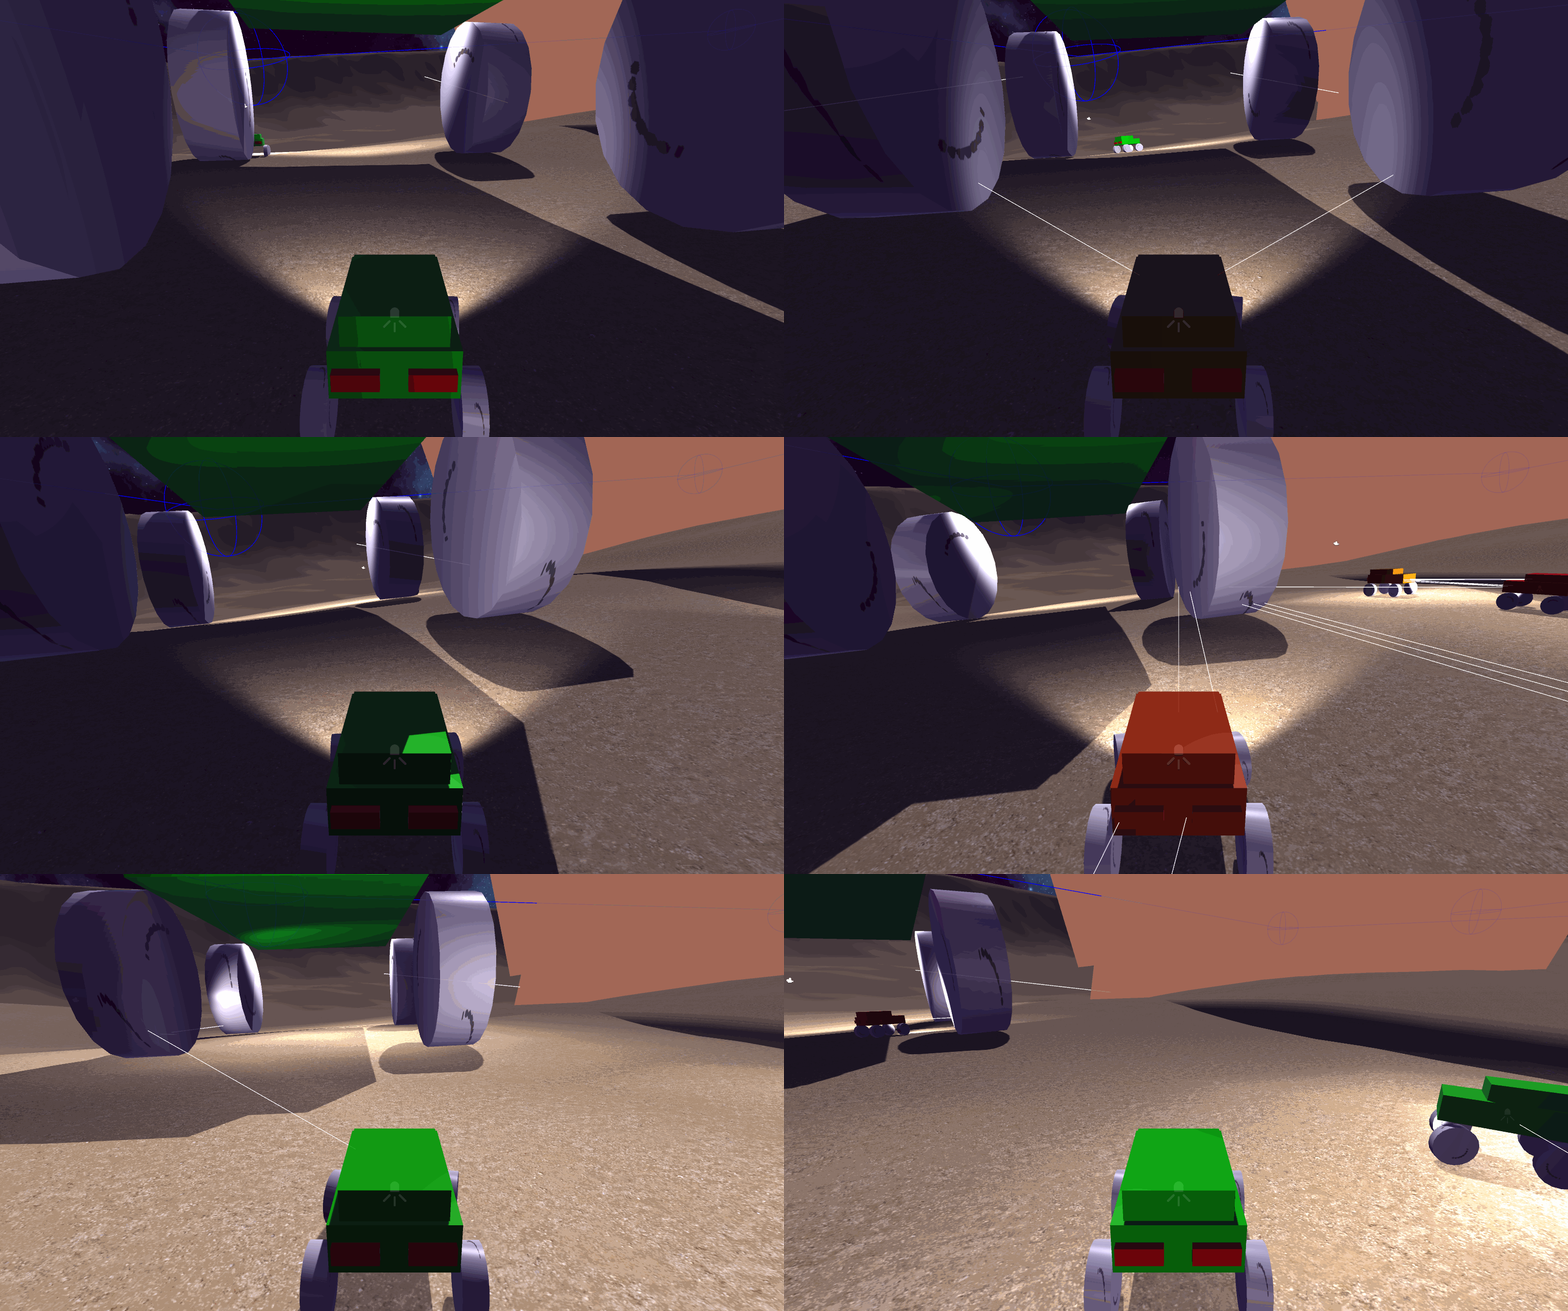
Overall, I’m very pleased with the effect that I was able to create. Vehicles are able to dynamically avoid obstacles, such as level geometry and other vehicles, and many unique behaviors are able to be created by changing easy to access values. Here are some demos of the AI.
-
White Lines - Vehicle's Sensors
-
Blue Lines and Circles - Level Path
-
Vehicle Color
* Green – Accelerating
* Red – Braking
* Yellow – Reversing
* Grey – Idle
 |  |  |
|---|---|---|
 |


To begin, I created a basic car using Unity wheel colliders and rigidbody physics cubes.
The vehicle pathfinding is split into two sections:
Path Following:
The first section handles moving the vehicle around a defined path of nodes which are placed around the world. These nodes are displayed in blue below.
To make the vehicles steer between each node, I wrote this script:
-
Line 4: Converts the current target to the vehicle's local space.
-
Line 7: Takes the x component of the target’s position relative to the vehicle, and divides it by the magnitude of the differences in the positions.
-
Line 8: Smoothly adjusts the current steering so that turning is fluid.
-
Line 11-18: Traverses through the path target list.
After adding some forward torque to the rear wheels, the car is able to drive along a basic, unobstructed path.
Obstacle Avoidance
The next section of the AI handles avoiding both static and dynamic obstacles that the vehicle might encounter.
The first step was to create sensor and sensor array classes, as well as an object avoidance script which communicates with the motor controller.
The sensors, shown above, are raycasts which detect collisions with terrain and other obstacles. All of the sensors are managed by the sensor array class, which passed an avoidance data struct to the object avoidance script.
Here is an example of the general makeup of testing a sensor. I will be using the forward facing, right sensor in this example.
-
Line 2: Sets the origin for the ray.
-
Line 3: Creates the sensor.
-
Line 4: Causes the sensor to shoot out a ray. If the ray hits something, an object has been detected.
-
Line 6: Flags that the vehicle is attempting to avoid an object. This is used to override the steering for following the path.
-
Line 8: Avoidance Data is a struct that contains all the sensors, their results, and the steering and throttle values calculated by the sensors. By subtracting from the steering value, we are letting the system know that we should be avoiding an object on the right.
-
Line 12-15: If the detected object is within a specified braking distance, signal that the throttle should be lessened. If it isn’t, signal that it is clear to accelerate.
After being populated with the sensors results, the avoidance data struct is sent to the object avoidance script where it is analyzed and converted into input for the vehicle. This occurs in two separate steps; The steering step, where the vehicle’s steering is adjusted, and the throttle step, where the vehicle determines whether it should be accelerating, idling, braking, or reversing.
References:
bottom of page
